Scope
Steps to create and manage message templates instead of writing the email each time.
Instructions – Add Message Templates
- Go to Admin > Templates.
- Click Add Text to open the Add Email Template window.
- In Template Name, enter the name of the template as it will appear in Select Message.
- In Subject, enter the subject that the recipient will see for the email.
- In Message, enter the contents of the message that you wish to have saved as a template. Use the toolbar to format it exactly as you want it to appear when sent later.
- Note: If you include #name in the body of the message, this will automatically be replaced with the full name of the student when the email is received by the contact.
- Click Save.
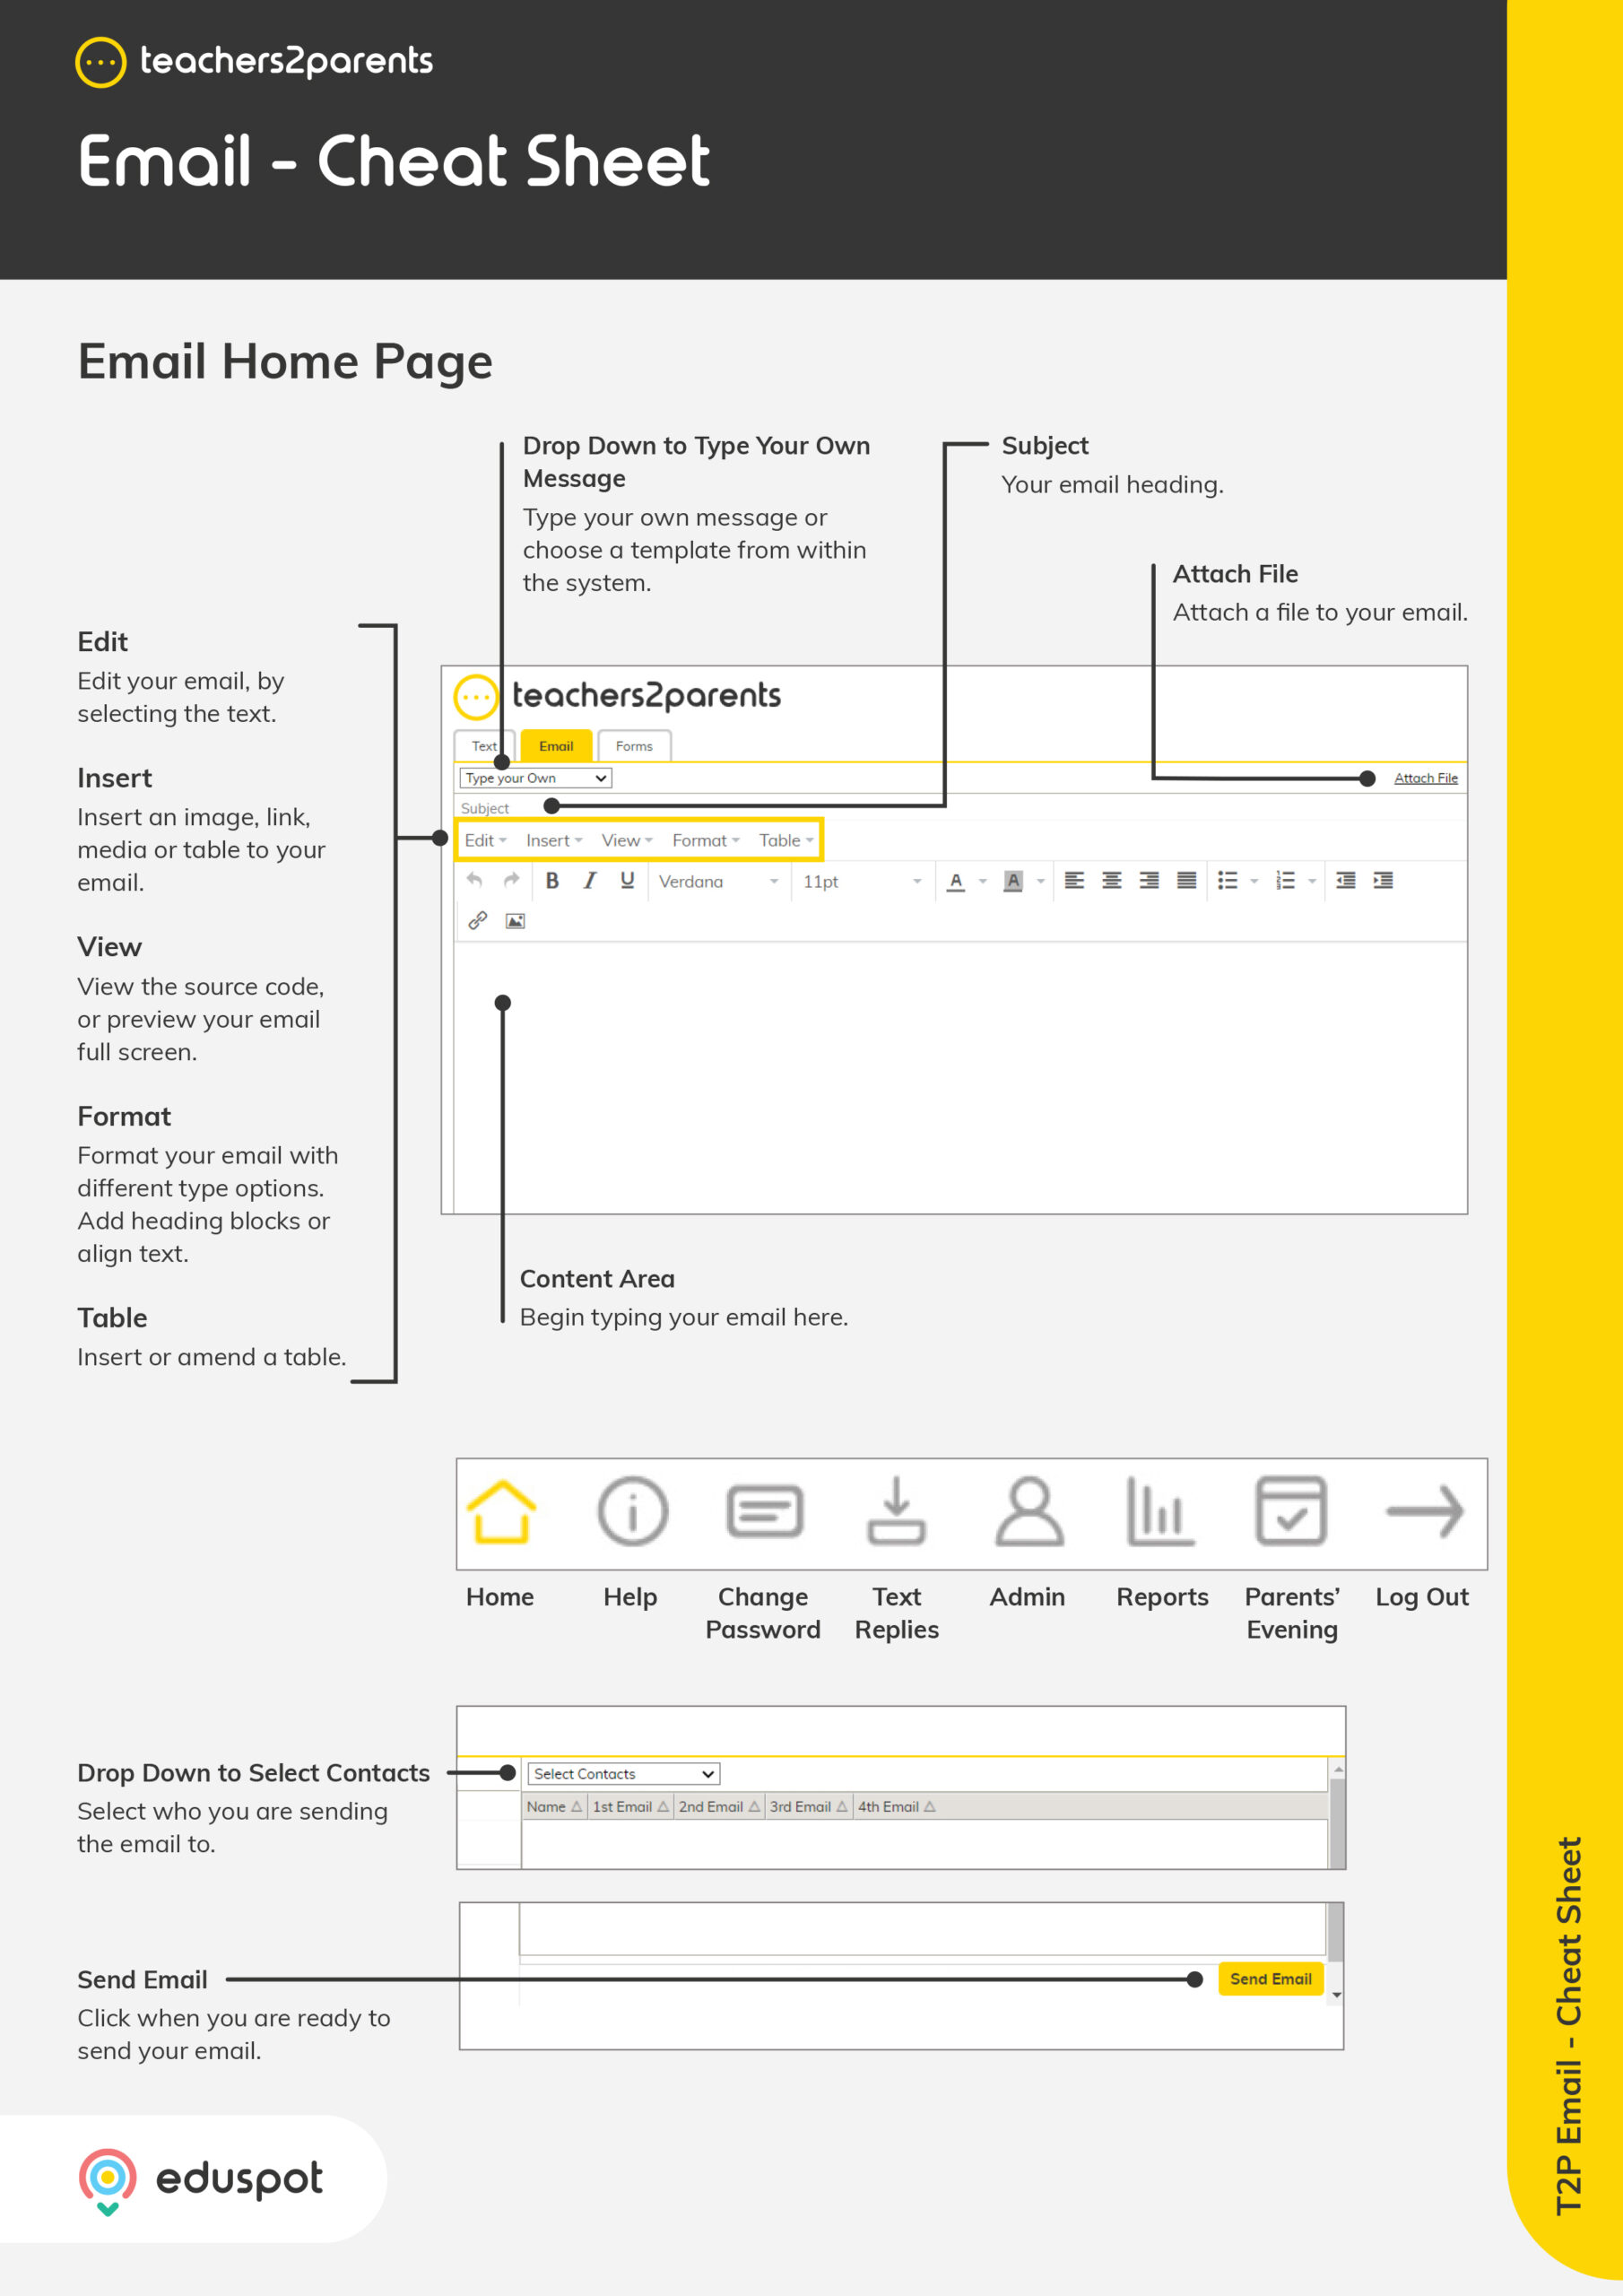
- Refresh the page to return to Home and the template will now appear in the Select Message drop-down menu for Email.
Instructions – Edit Message Templates
- Click Admin > Templates.
- Double-click on the template or select it and click Edit.
- This will open the Edit Email Template window where you can:
- Change the name of template.
- Change the email subject.
- Change the contents of the email.
- Click Save.
- Refresh the page to return to Home and these changes will have been applied to the template in the Select Message drop-down menu for Email.
Instructions – Delete Message Templates
- Click Admin > Templates.
- Tick the checkbox for the template(s) that you want to remove.
- Click Delete.
- Refresh the page to return to Home and this Message Template will no longer appear in the Select Message drop-down menu for Email.


