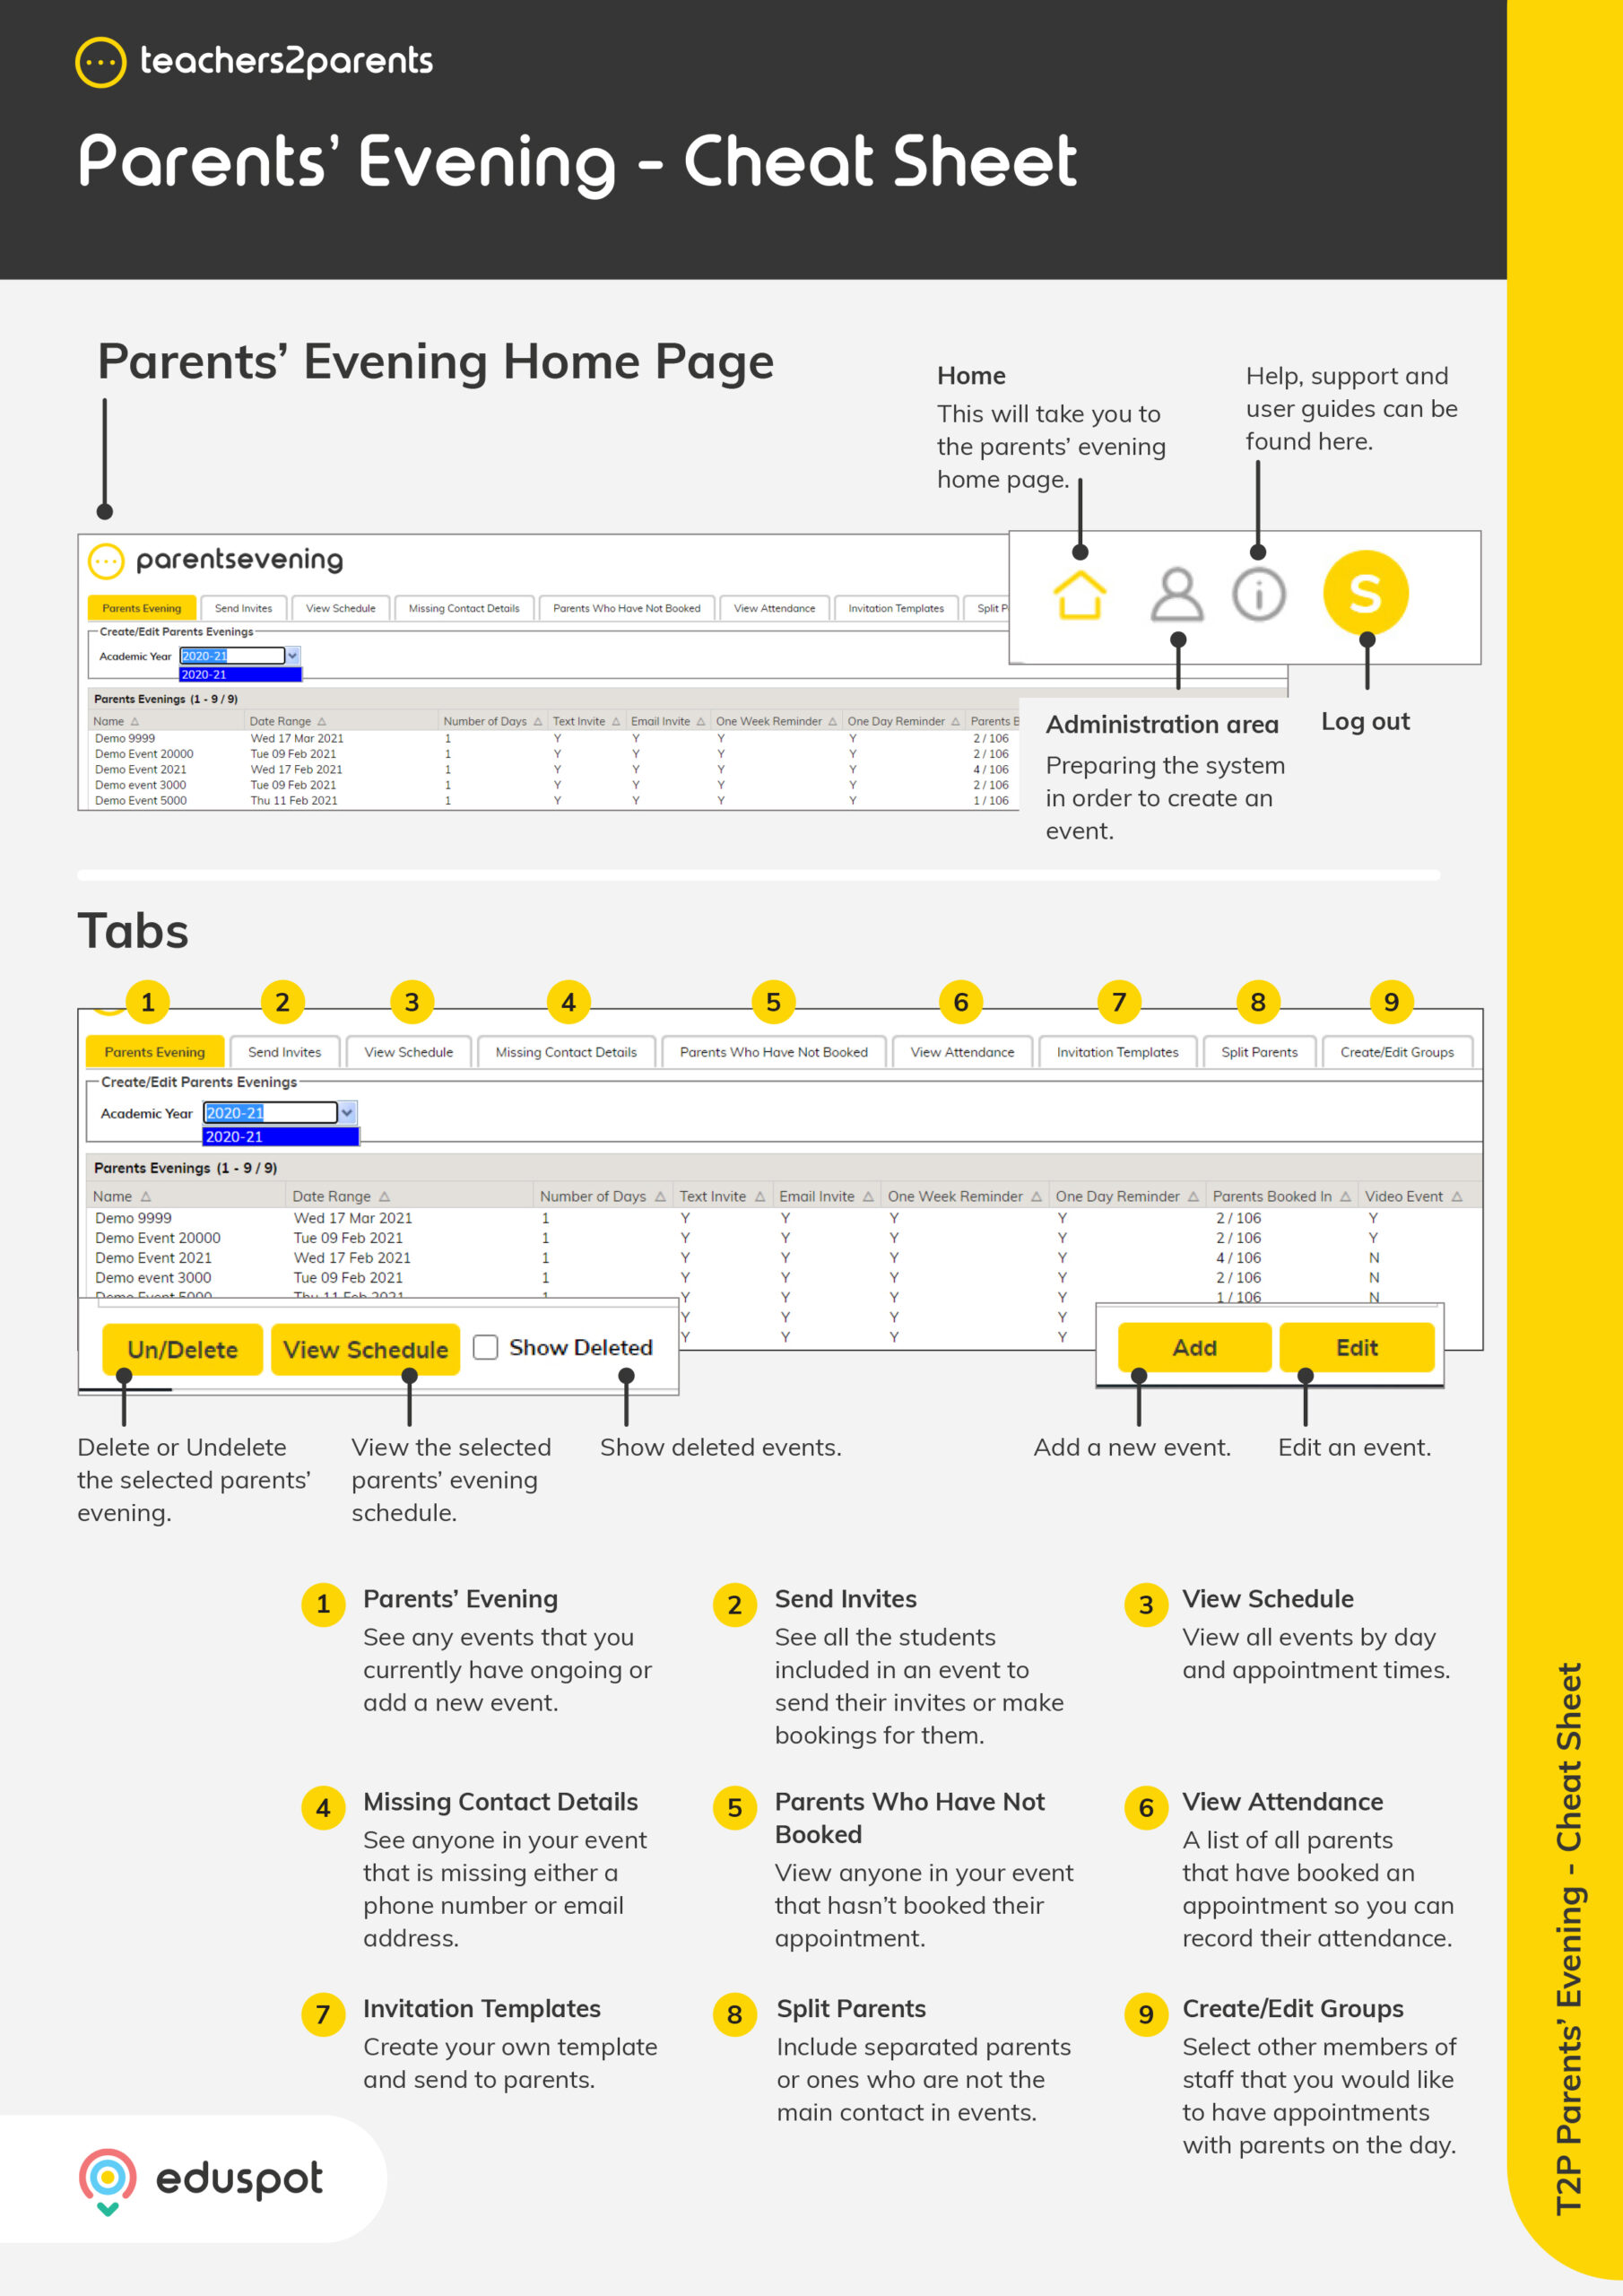
Scope
Steps to add, edit, and delete manual groups to include in parents evening events.
Instructions – Add Groups
-
Go to Create/Edit Groups.
-
Click Add.
-
In Group Name, enter what the group is called e.g., SENCo.
-
In Staff Member, select the teacher responsible for the group.
-
Under Student Membership, tick the students who belong to it.
-
Click Save.
-
Click OK in the confirmation window.
-
When creating your event, Invite Parents > Students in will show the group(s) you created under Groups. Read our guide for further information: ParentsEvening: Add Events.
Instructions – Edit Groups
-
Go to Create/Edit Groups.
-
Double-click on the group or select it and click Edit.
-
In the Edit Event Group window, you can change the group name, select a different staff member, and tick/untick student members.
-
Click Save.
-
Click OK in the confirmation window. These changes are applied immediately.
Instructions – Delete Groups
-
Go to Create/Edit Groups.
-
Select the relevant group and click Un/Delete.
-
When the confirmation window appears, click OK.
-
The group will be deleted, and an alert window will appear. Click OK.
Instructions – Undelete Groups
-
Go to Create/Edit Groups.
-
Tick Show Deleted at the bottom.
-
This will show all current and deleted groups in the current academic year with a new column Deleted to indicate which ones are deleted or not. Deleted ones are also highlighted in orange.
-
Select the deleted group and click Un/Delete.
-
When the confirmation window appears, click OK.
-
This group will now show N for not deleted and an alert window will appear. Click OK.


